
Today I have a fun tutorial to share with you, just in time for this weekend's holiday. It's the "4th of July Pin" tutorial, and it's so easy they're no excuses not to make one.


Step 1: Cut out strips of fabric approx 1/2 inch wide. There is no real exact science to this, so if some are wider or narrower, no big deal. I used 4 different 4th of July themed fabrics, but you could use just one or two. Use whatever you have on hand.
Note: I used pinking shears to cut my strips, but you can use regular if you'd like. Pinking shears help keep the fabric from fraying, but I've done this with regular scissors and the pin actually looks really cute with slightly frayed edges.
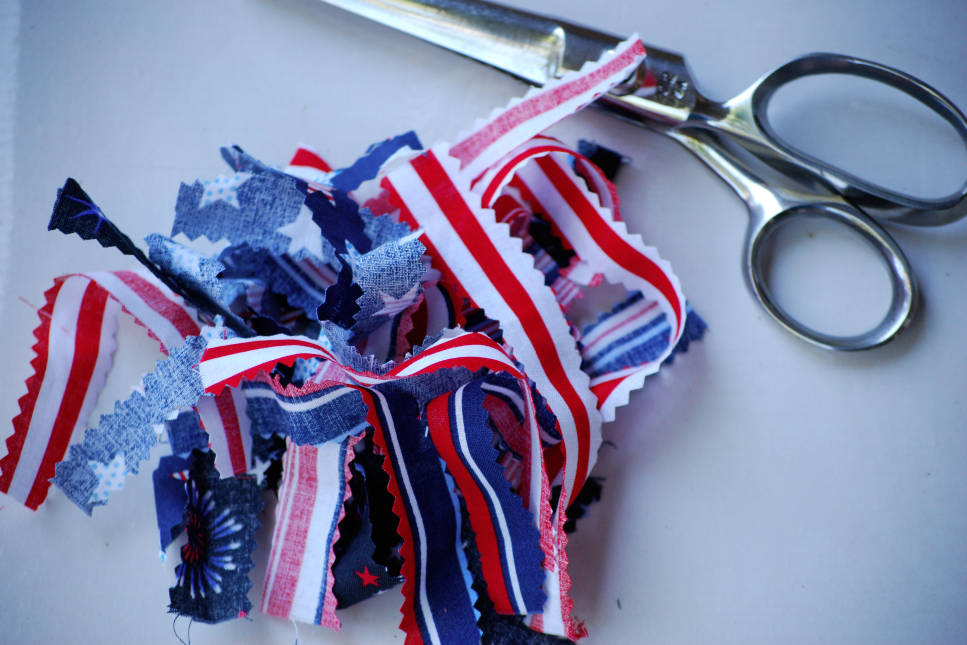
After you cut out your pieces you'll have a big pile of strips. I cut 5 strips from each of my fabrics, for a total of 20 strips, so if you're using just one then cut 20, 2 fabrics cut 10 of each, etc...

Step 2: Pinch the center of your strip and sew with a needle and thread through the fold, as pictured above. Just keep folding your fabrics and putting them on your needle. You'll have a big bunch of fabrics on your needle like the picture below. (Click on the pic, and if you look closely in the middle you'll see the needle.)

Push the needle back and forth through the center of the fabric bunch a few times to really secure them all together. Knot off your thread.

Step 3: Use hot glue to affix a pin back to the back of your pin.
Now flip over and admire your work, you're done!

I do have to give a big thank you to Christa from Mustard Seed Fabric & Furniture for sharing how to make these with me. She sported one at our Thursday Night Market last week, and was kind enough to give me the details on how she made it. Thanks Christa!
No comments:
Post a Comment